Wondering how to open the local Group Policy Editor in Windows? You’ve come to the right place. If you’re looking to configure Group Policy on your PC, either to take advantage of cool GP tricks or lock down your computer, you’ll need to use this utility.
Let’s take a look at the several ways you can open the Group Policy Editor, and what to do once you’re inside.
What Is the Local Group Policy Editor?
In case you’re not familiar with Group Policy, we’ll offer a brief summary here. See our overview of Group Policy for more information.
Group Policy is a utility for IT administrators to control a group of Windows computers on a domain. It allows them to disable parts of Windows, enforce certain policies, and automate repetitive tasks like mapping printers.
The local Group Policy Editor allows you to make changes to Group Policy on your own machine only. On a Windows domain, you need the Windows Group Policy Management Console, typically installed on a server, to apply these changes network-wide.
You must have a Pro (or better) edition of Windows to use the Group Policy Editor and be logged in as an administrator on your PC. We’ve shown a workaround to access Group Policy in Windows Home, however.
How to Open the Local Group Policy Editor
As it turns out, you actually have several ways to open a local Group Policy Editor window. They all achieve the same result, but we’ll cover them for the sake of completion.
1. Using the Start Menu
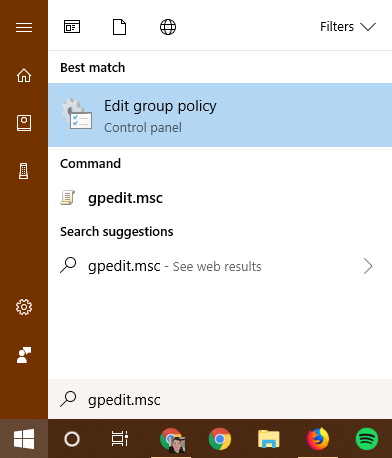
The most convenient way to open a Group Policy Editor window on modern versions of Windows is by searching for the command on the Start Menu.
Click the Start Button or press the Windows key on your keyboard to open it, then enter gpedit.msc. You should see this entry appear; press Enter to launch it straightaway.
2. Via the Run Dialog
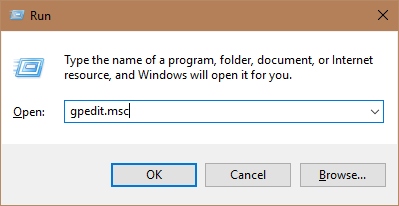
The Run dialog is a Windows relic. It allows you to open a file, program, website, or anything else that you know the path to on your computer. It’s largely superseded by the souped-up Start menu search nowadays, but it’s still handy to have around.
Open a Run dialog with the Windows + R shortcut, then enter the same command as above: gpedit.msc. Press Enter, and you’re into the Group Policy Editor.
3. Through the Command Prompt/PowerShell
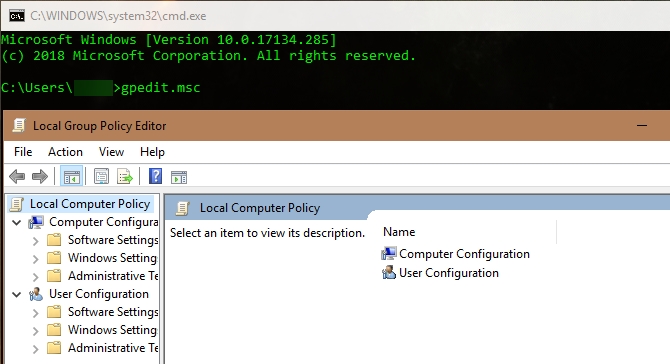
Finally, you can launch the Group Policy Editor through a Command Prompt or PowerShell window, if you want to.
The easiest way to open one of these is right-clicking on the Start button or pressing Windows + X to open the Power User menu. Depending on a particular setting, you’ll see either Windows PowerShell or Command Prompt around the middle of the list.
Open either one of these (they’re essentially identical for this purpose) and enter the same command: gpedit.msc. You’ll get the same local Group Policy Editor window.
Using the Group Policy Editor
Now that you know how to access it, let’s take a look at how to navigate around the Group Policy editor.
On the left side, you’ll find everything in Group Policy falls into one of two categories: Computer Configuration and User Configuration.
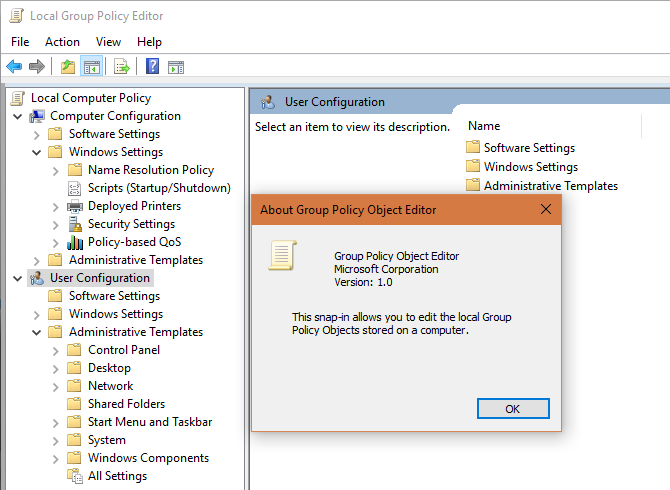
As it sounds, Computer Configuration contains settings that affect the entire system, while User Configuration is only for a specific user. In each one, you’ll see three branches: Software Settings, Windows Settings, and Administrative Templates. Since Software Settings is blank on a fresh system, we’ll skip that one.
Computer Configuration > Windows Settings
Under Scripts (Startup/Shutdown) you can add scripts (from PowerShell or otherwise) that run when the computer boots up or shuts down. The Deployed Printers tab lets you map printers for the computer.
Through Security Settings > Account Policies > Password Policy, you can set a minimum password length, enforce complexity, and force users to change their passwords regularly. Use the Account Lockout Policy section to block user accounts if they enter an incorrect password too many times.
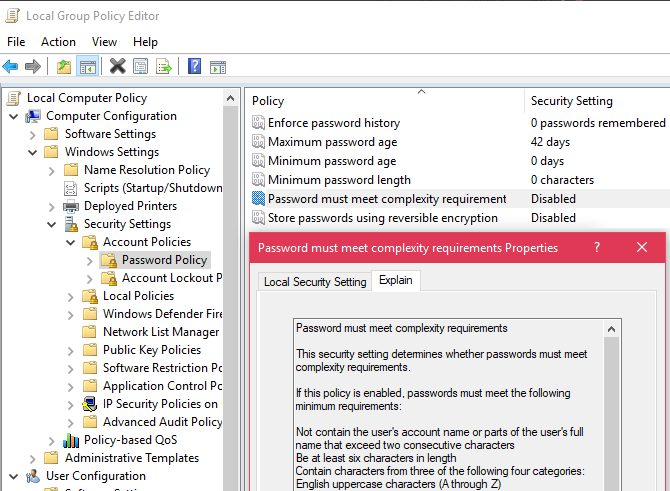
Under Local Policies, you can set Windows up to audit various events and toggle security options, like not displaying a username when signing in.
Computer Configuration > Administrative Templates
Here you’ll find all sorts of options for blocking parts of Windows. Under Control Panel, you can adjust lock screen and Start menu options. Network holds a host of connection-related settings, while System holds dozens of options in various categories.
Take a look at Windows Components to change or block many parts of the OS, such as blocking OneDrive, adjusting how Windows Defender runs, and app compatibility options.
User Configuration > Administrative Templates
Here you’ll find more options for individual users that don’t appear in the Computer Configuration section. Particularly, under Control Panel > Personalization, you’ll see tweaks that prevent users from changing desktop icons, sounds, color scheme, and similar.
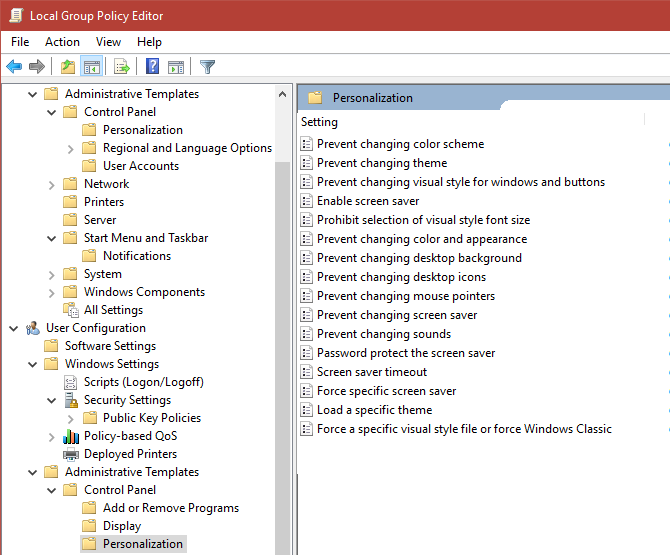
Take a look at Start Menu and Taskbar for plenty of options around that. Like the above, System and Windows Components contain a wealth of choices too.
Ready to Tweak Your Windows Group Policy?
Now you know how to access the local Group Policy editor in Windows and what it’s capable of. It just comes down to entering the gpedit.msc program name in one of the many ways available. As long as you’re using a Professional version of Windows, this should work fine for you.
Speaking of Windows Pro, there are many other versions of Windows 10 you might not know about.
Read the full article: How to Open the Local Group Policy Editor in Windows 10
from MakeUseOf https://ift.tt/2OcUWub

No comments:
Post a Comment