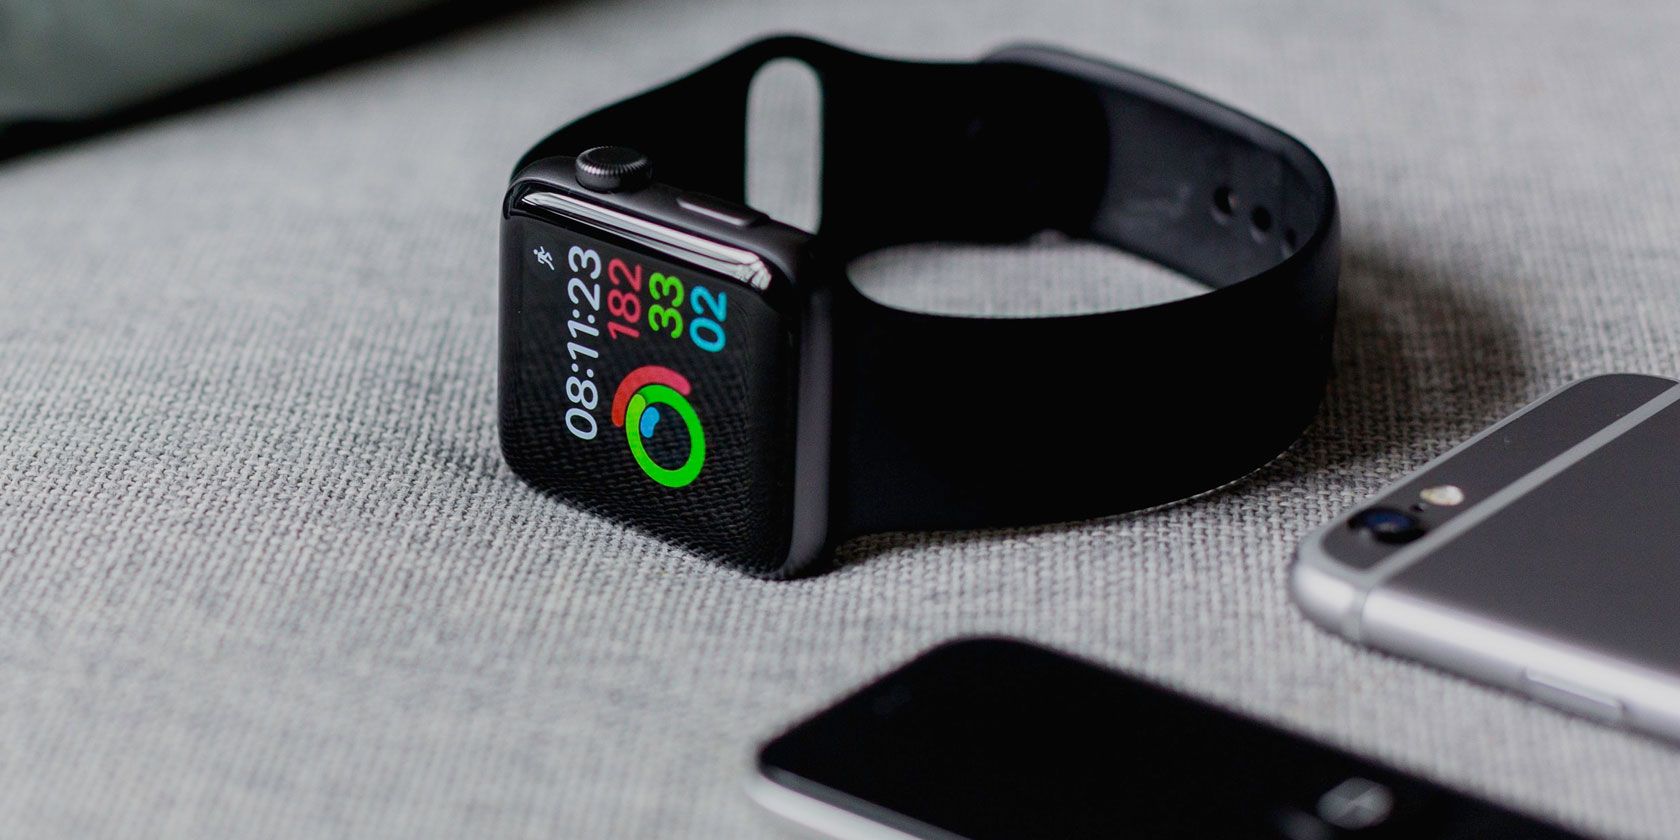
Did you know there’s a right and wrong way to clean most of your portable devices? The Apple Watch is no exception. Using the wrong tools for the job could damage your watch, void its warranty, or irritate your skin.
Today we’ll take a look at the right way to clean your Apple Watch. Want to clean your smartphone too? Check out our guide to safely cleaning your iPhone without damaging it.
Step 1: Remove Your Band
In order to clean each part of your Watch thoroughly, you’ll need to remove the band from the Watch unit. First, remove the Watch from your wrist. On the back, look for the two buttons near the point at which the Watch and the band meet (see the below photo).

Using your fingernail or a thin blunt object, depress each of these buttons and slide the band off in a horizontal motion. The buttons disengage the magnets within the Watch, but you may still need to apply some force to get the band off.
Step 2: Clean the Watch
With your Watch separated from the band, it’s time to start cleaning. What’s most important is that you avoid using anything that can damage your Watch. This includes:
- Soaps and chemical cleaners
- Household cleaning sprays
- Abrasive materials (e.g. polish)
- Compressed air canisters
- Ultrasonic cleaners
- External heat sources (e.g. steam)
All Apple Watch models are water-resistant to some degree. The early models (like the original “Series 0” Watch) are regarded as splash-proof but will survive a dunk under the tap or a quick shower. The newer models are rated for up to 55 yards of water resistance. These models can handle submersion in fresh, chlorinated, and salt water (provided you rinse them off afterward).

First, enable the water lock on your Watch by swiping up from the bottom of the screen and tapping the water droplet icon. This locks the touchscreen and aids with removing water from the speaker system when you’re done cleaning (Series 3 and 4 only).

Hold your Apple Watch under warm running water for 10-15 seconds, then rub off any unwanted gunk with a damp, non-abrasive lint-free cloth. The screen should clean up pretty easily, but you may need to pay extra attention to the back of the Watch where the heart sensors reside.

It’s common for this area to build up dirt, particularly if you’re using your Apple Watch to work out or sweating a lot. You may need to use a little elbow grease to clean the sensors and back of the Watch. Don’t be afraid to give it a good cleaning; provided you’re using a non-abrasive cloth and water, your Watch should be fine.

With the front and back clean, it’s time to turn your attention to the edges. It’s possible for residue to build up around the Digital Crown, possibly to the point where it doesn’t turn smoothly anymore. To remedy this, hold the Digital Crown directly underneath warm running water for around 15 seconds, while turning the crown to loosen any grime.

Once the Digital Crown turns freely, it’s worth giving your Watch one more check over. Pay close attention to the points at which the band connects to your Watch. These areas can get dirty, particularly if you never change bands. Too much grime here could prevent the magnetic clasp working, risking your Watch slipping off your wrist.

One of the coolest Apple Watch features (at least on the newer models) is the ability to expel water after a shower or swim. Turn the Digital Crown to fill the meter up, at which point your Watch will emit some low noises followed by a bleep.
If you already triggered the self-cleaning while washing your Digital Crown, you can re-enable it by swiping up from the bottom of the Watch face and tapping the water droplet icon.

Step 3: Clean Your Band
Not all bands are built equally, and not all bands are water-resistant either. In particular, Apple’s leather and stainless steel bands are not classified as water-resistant. In this instance, you shouldn’t swim, shower, or run them under water in order to clean them.
Instead, you should wipe them clean with a soft damp cloth to remove any dirt and grime. Avoid soaking the leather band in water, since this will likely damage it. You should wait until the band is completely dry before reattaching it to your Watch.
For nylon, silicon, and other durable bands, you don’t need to exercise quite as much caution. Silicon is easy to wipe clean and you can run it under the tap for a few minutes to loosen up any stubborn grime. It’s also fine to clean nylon bands and sport loops this way to return them to their former glory.

You should avoid washing your band like you would an item of clothing. Even though the lighter fabric bands may get noticeably dirty, Apple recommends only using water to clean them.
Step 4: Reassemble Your Watch
With your Watch and band sparkling clean, it’s time to reassemble your Watch. To do this, slide the band into the coupling point at the top and bottom of the Watch face. If you have a band with a buckle, make sure the buckle end connects to the top of the Watch. For sports loops, make sure the Velcro is at the bottom of the Watch when the band is fully extended.

You can now put the Watch back on and start getting it dirty again. The more often you clean the Watch, the less time you’ll spend removing grime that builds up over time.
If you have a light fabric Watch band that’s started to discolor, you might want to consider replacing it. Check out our recommendations for cheap third-party Apple Watch bands before you open your wallet!
Read the full article: How to Clean Your Apple Watch Safely and Efficiently in 4 Steps
from MakeUseOf http://bit.ly/2BDzaau

No comments:
Post a Comment