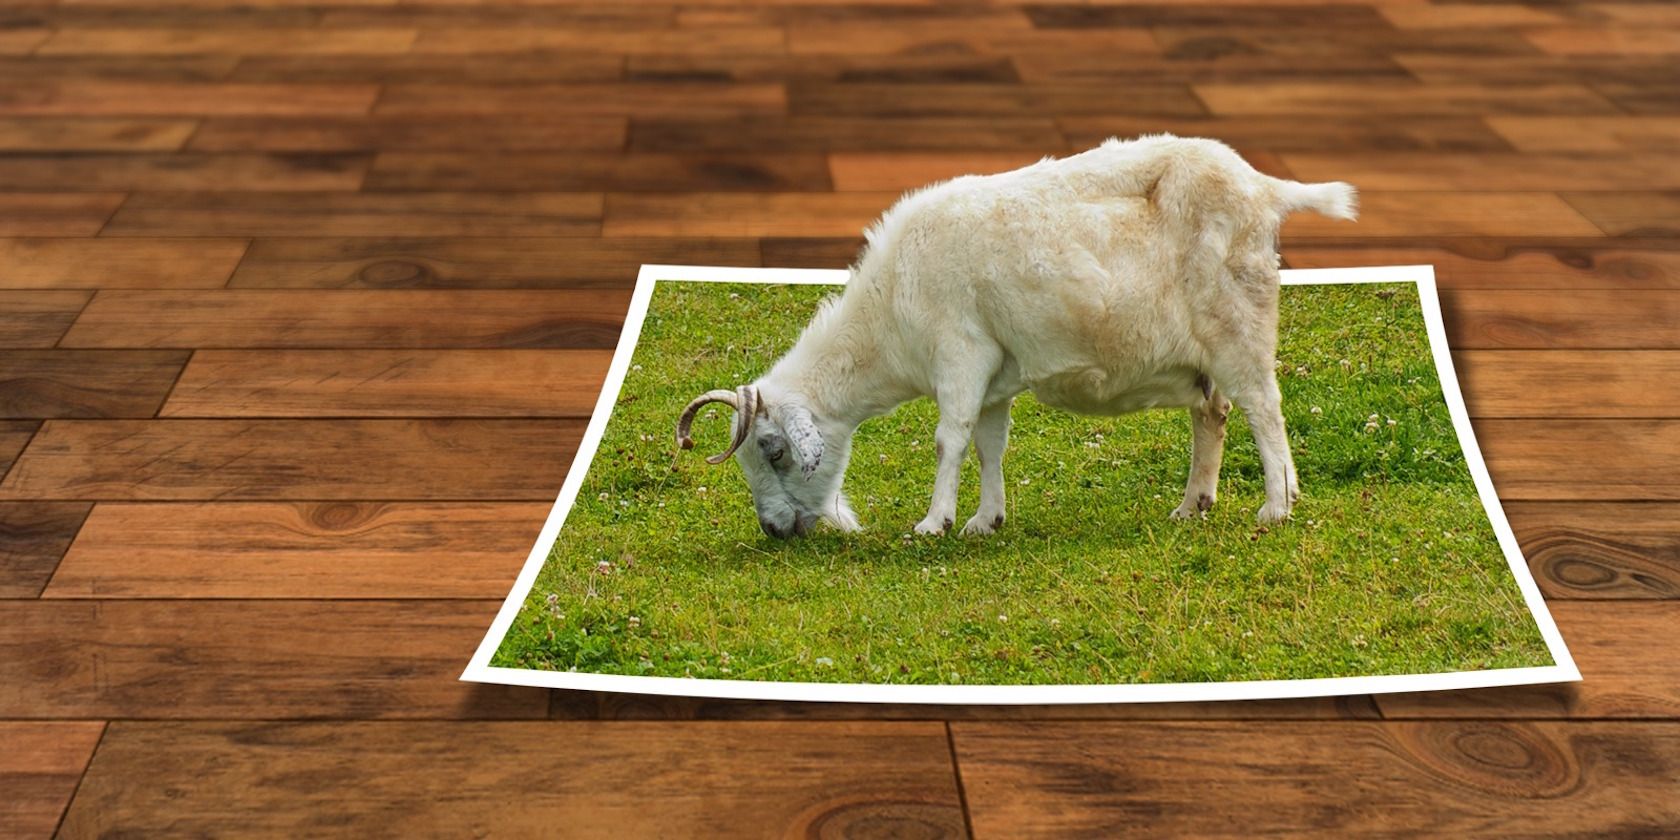
Have you wondered how a photo is cut up into a specific shape? Or how a shape is filled with a photo instead of a color in Adobe Photoshop? This common effect is easy to achieve with a Clipping Mask.
The final image looks like a cutout, but you don’t have to crop the picture irreversibly. Instead, you just have to manipulate the layers to get the effect.
How to Crop to a Shape With a Clipping Mask
One of Photoshop’s handiest tools is the Clipping Mask. Buried in the complicated program’s layers, you can use this tool to create a frame for an image, revealing only the part of the image you want to display.
Here’s an example of the final image:
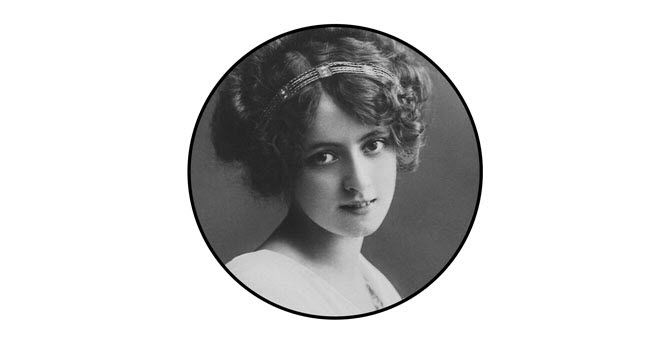
This can be a great way to focus on an image with a shape in Photoshop without cropping the actual image. Follow these simple steps with a new transparent image or one with a background color.
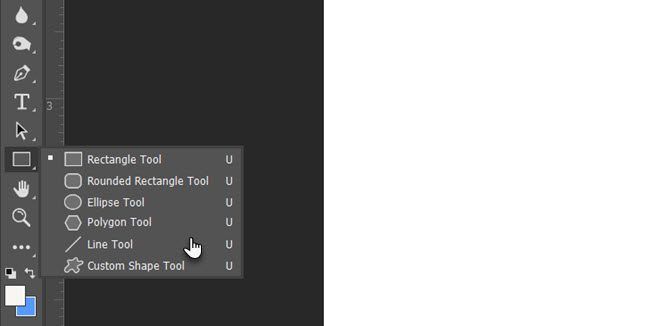
1. Select the shape of your choice. Go to Photoshop’s Shapes tool located in the Tools bar on the left. You can choose from a rectangle, ellipse, rounded rectangle, or polygon, or create a custom shape.
For the purposes of this tutorial, we’ll be using an ellipse. After selecting the shape, you can draw the shape one of two ways. You can either drag the cursor across the canvas to create the ellipse.
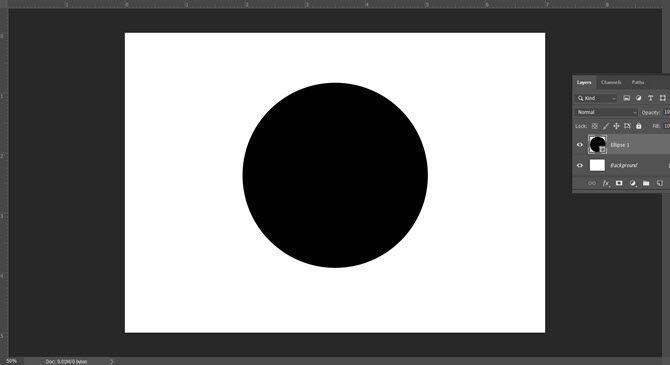
2. Holding down the Shift key will allow you to create a perfect circle when using the ellipse, or a perfect square when using the rectangle. Alternatively, you could just click anywhere on the canvas and type in the exact dimensions of the shape you want to create.
3. For the purpose of this tutorial, let’s create a black circle so it’s easy to see on the canvas. The color is only important for you to see the shape as whatever color you choose will be completely covered by the image.
4. Next, insert the image you want to be framed by that shape. To do so go to File > Place Embedded, and navigate to where the image file is saved on your computer.
Doing it this way, rather than copying and pasting, allows you to manipulate the image in Photoshop without making irreversible changes to the original file.
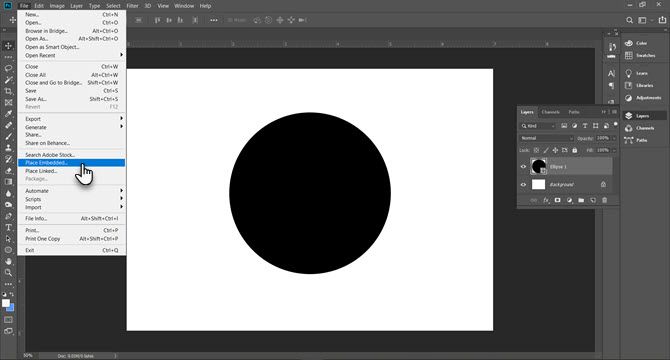
5. Browse to the image on your computer and upload it. Hit Enter and it will create a new layer on your canvas.
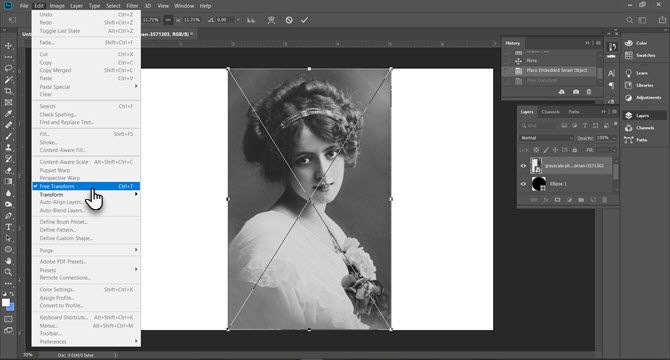
You’ll notice that Photoshop will restrict the size of the image to the boundaries of your canvas even if it’s a larger image. You can adjust the size of the image in the active layer with Free Transform. Go to Edit > Free Transform or press the shortcut Ctrl+T.
6. Then use the corner handles to adjust the size of the image. Press Shift and drag the handles to preserve the aspect ratio of the image.
7. Go to the Layers panel. Right-click on the image layer of the vintage photo and click Create clipping mask.
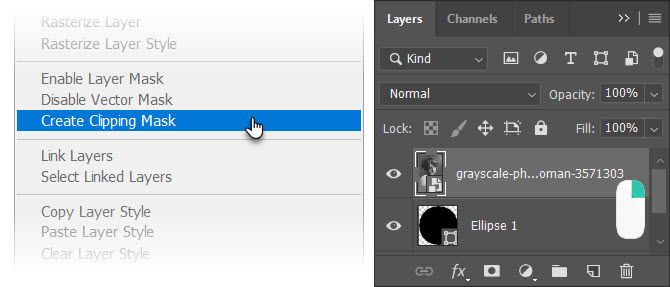
8. You will see the borders of the image restricted to the circle shape. Now, move your shape around, make it bigger or smaller with the Free Transform tool, and show only the precise part of the image you want to show.
You can use Clipping Masks and a similar method to fill any text with an image too.
How to Crop Images With Custom Shapes
The Custom Shapes palette in Photoshop gives you more options to experiment and place a photo within any shape. For instance, you can use a three-dimensional shape like a box and make a photo “wrap” around it.
Read our other article to learn more about how to use the Custom Shape tool in Photoshop.
Read the full article: How to Crop Images Using Shapes in Photoshop
from MakeUseOf https://ift.tt/2vGrlRE

No comments:
Post a Comment