It is indeed possible to add external subtitles to a movie that you’re watching using Windows Media Player. If you have wrung your hair over it for a long time, here’s the solution that solves the problem.
The classic Windows Media Player 12 is Microsoft’s default audio and video player. But it hasn’t been updated since 2009. Maybe, you enjoy the simplicity of using the media player that came with your PC.
So far you are fine with it… except when it comes to subtitles. Here we’re going to go through the process of adding subtitles to WMP in two main steps.
- Download your movie and subtitle file.
- Install a third party codec called Advanced Codecs.
But first, let’s see if you have Windows Media Player installed in your Windows 10 PC.
Download and Install Windows Media Player
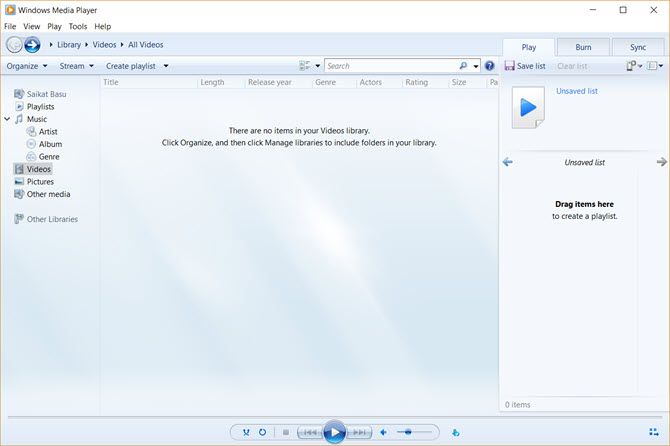
Don’t worry if you can’t see Windows Media Player 12 in your Programs list. Windows Player used to be the default media player on Windows 7, Windows 8, or Windows 8.1. Things changed with Windows 10 where it became an optional feature.
Now, you need to download and install Windows Media Player if it’s not there in your version of Windows 10. Microsoft Support has a list of the WMP versions which will help you find the right version of the Player for your system.
Prepare Your Movie File and Subtitle File
Many torrent downloads include subtitles. But let’s assume you have downloaded or ripped a video file that doesn’t have subtitles.
There are many websites that offer subtitles for download in multiple languages. Pick any from the three listed below. There are many more you can find with a Google Search.
I prefer Subscene.com because it lists all the popular subtitles in an uncluttered interface that makes search a breeze.
Find and download the exact matching subtitle file that has been synced with that particular video file. Choose a subtitle which has the same up-loader name as the movie file. Or match the name to the ripped type.
Download the files and extract them if they come in a ZIP format.
For a demo, I have an episode of Doom Patrol and some subtitles that I’ve put in one common folder called “Subtitled Doom Patrol TV Series”. Notice that both don’t have matching names yet.
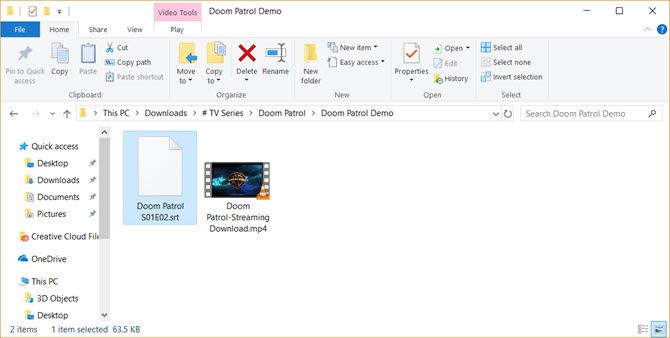
Rename Both Files to Match Each Other
Now, just put both of the files in the same folder and make sure they have the same name (aside from the extension). In this case, the video is “Doom Patrol” and the subtitle file is “Doom Patrol.srt”.
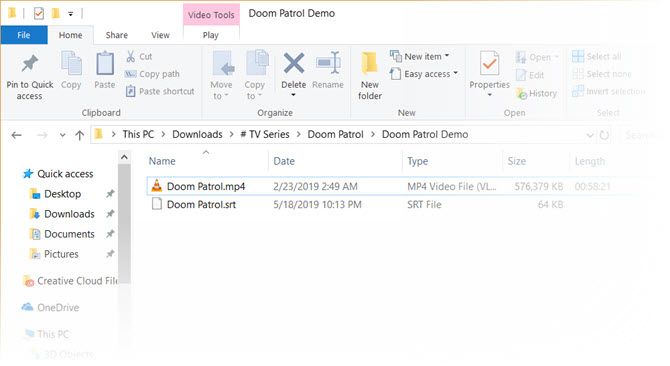
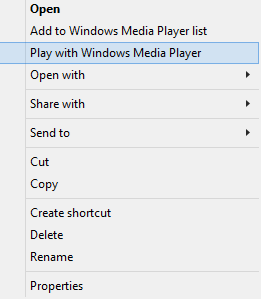
Right-click on the video and choose “Play with Windows Media Player”. Hopefully, your video now plays with subtitles. But if it still isn’t working, you have a few more options.
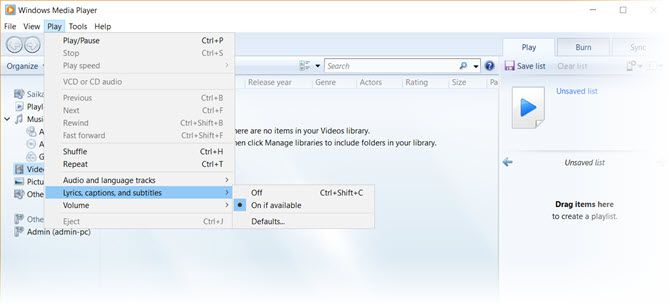
Set WMP to display captions. From the default home screen, you can right click on the bar near the top and select Play > Lyrics, captions, and subtitles > On if available.
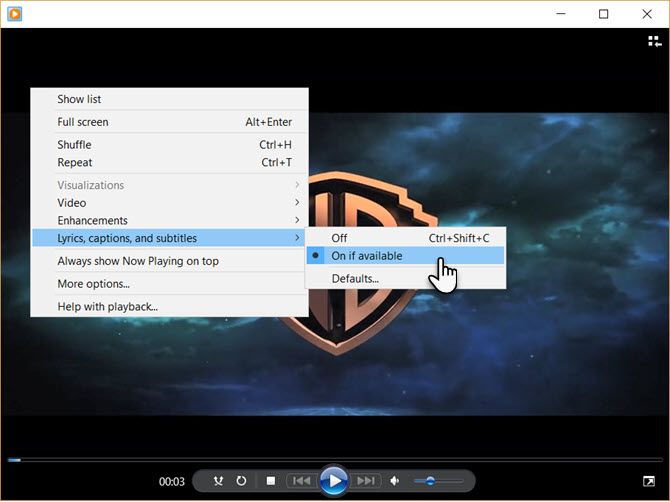
If the video is already playing, right click anywhere on the player and select Lyrics, captions, and subtitles > On if available.
Download a Third Party Codec
One of the big failings of WMP is that it doesn’t recognize downloaded subtitle files with extensions of .SRT and .SUB. In that case, you have to take the help of third party codecs.
The codec of choice used to be DirectVobSub. But in all my attempts, I couldn’t make it play the subtitles with the latest version.
The Solution:
An alternative codec for WMP 12 that worked for me is called ADVANCED Codec (version 11.5.1) by a developer named Shark007. It is an audio and video codec package for Windows 7, 8 and 10. The release contains a full suite of decoders for both 32bit and 64bit systems.
Also included in the package is the DirectVobSub/VSFilter (the add-on for Microsoft Windows that is able to read external subtitle files) with a GUI controller for the installed codecs.
The codec is available from MajorGeeks and a few alternative download mirrors. MajorGeeks is a trusted website and has been in the download business since 2002. Yes, the site’s design still harks back to the good old days!
Run the ADVANCED Codec executable. The installer will download the codecs to your computer before finalizing the install.
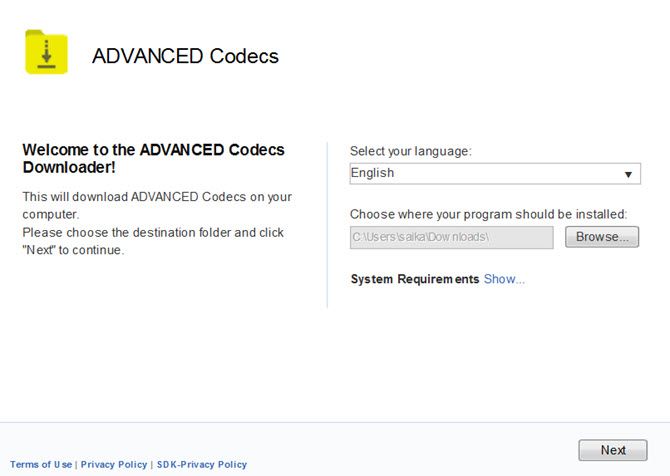
ADVANCED Codec also installs a Settings application in your Program menu or desktop. This gives you a GUI to tweak a few settings in case your subtitles are not displayed.
When Windows Media Player Does Not Display Subtitles
WMP 12 is moody with a few file types. I have run into problems with MP4 video formats.
You can try a few tweaks suggested by Shark007.
- For an AVI file, choose to disable the DMO codecs on the Swap Tab of the ADVANCED Codec Settings application.
- If it is an MP4 file, choose to disable the Microsoft Audio decoder on the Swap TAB. You may also need to disable the Microsoft Video decoder.
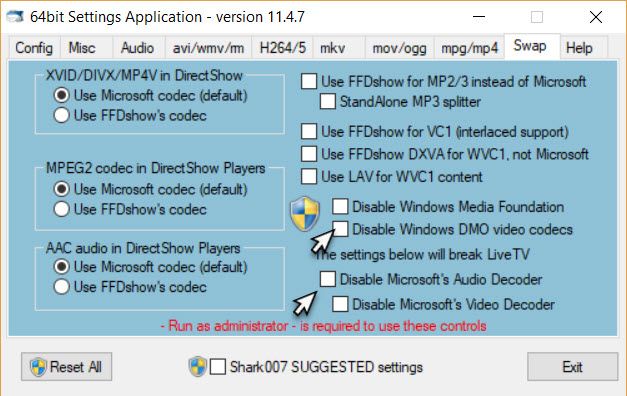
If you still can’t see any subtitles, however, there is one last thing you can try. Rename the subtitle file and change the “.srt” to a “.sub”. For me, the subtitles played regardless of whether it was called .srt or .sub, but some users report one working more often than the other.
Try an Alternative to Windows Media Player
The classic Windows Media Player has seen better days. Today, there’s no need to go to such lengths to play your favorite subtitled videos as there are enough alternatives for the outmoded WMP. The popular VideoLAN (VLC) player is the most favored as it can play everything right out of the box. It is free, there’s an active open source community behind it, and it is cross-platform too.
Read the full article: Here’s How to Add External Subtitles on Windows Media Player
from MakeUseOf http://bit.ly/2KlUA1X

No comments:
Post a Comment